Supplies
- Aeropress
- Aeropress paper filter
- Scale
- Timer
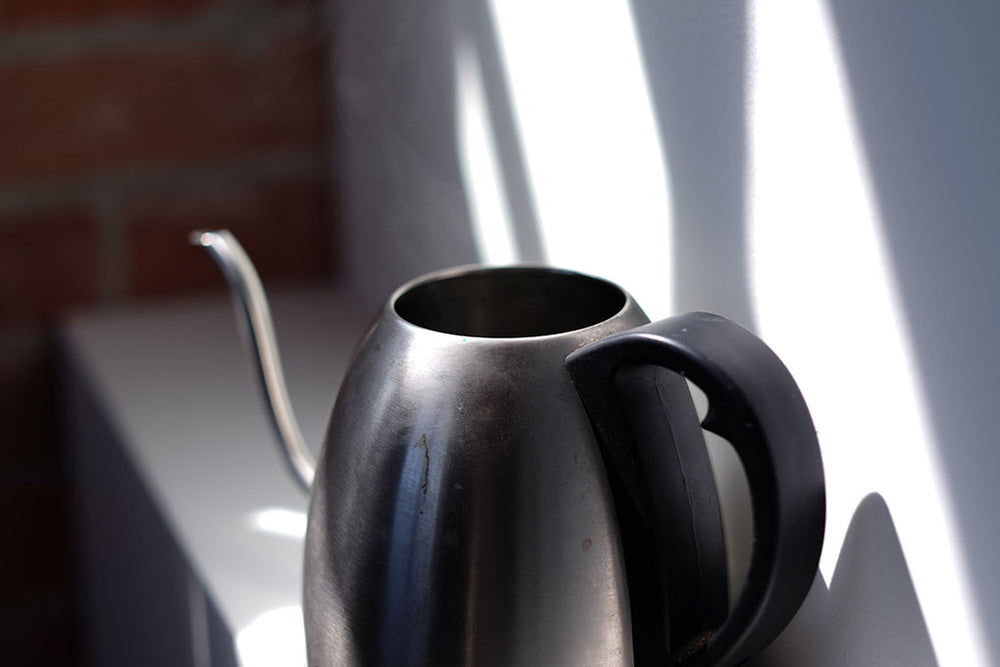
- Kettle
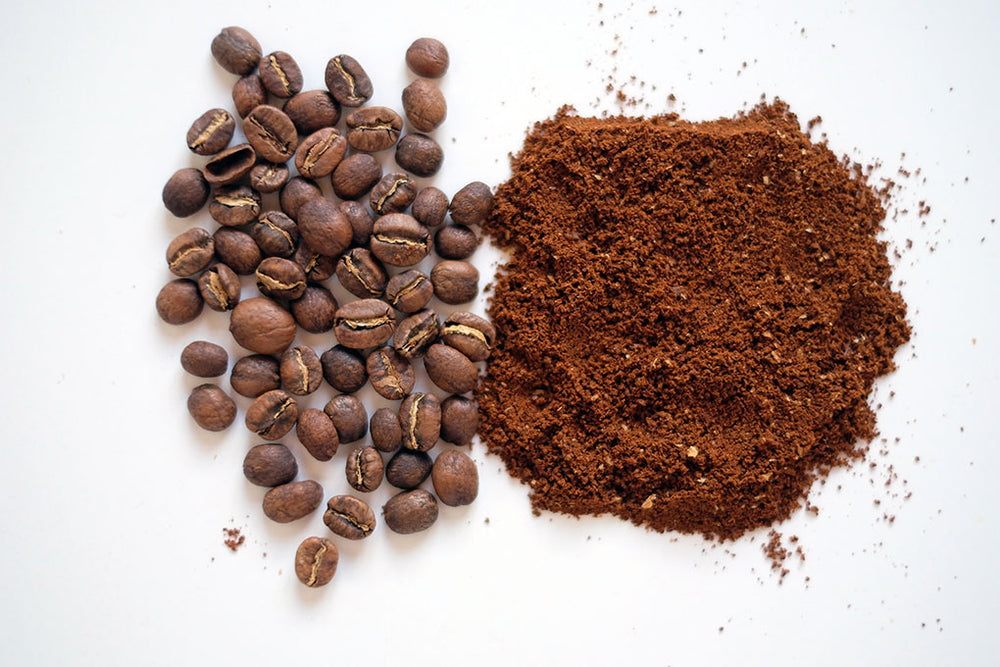
- Grinder
Guidelines
- Coffee Input: 16g
- Water Input: 260g
- Brew Ratio: 16:25:1
- Total Brew Time: 2:20
-

Step 1. Boil Water
We recommend at least 600g / 20oz of filtered water.
-

Step 2. Grind Coffee
Weigh out 16g of whole bean coffee and grind slightly finer than sea salt.
-

Step 3. On your marks
Insert Aeropress filter to the plastic cap.
-

Step 4. Get set
Secure paper filter with plastic cap onto the base of your Aeropress.
-

Step 5. rise your filter
Place Aeropress on top of your vessel (mug, pitcher, etc.) and pour approximately 100-200g of boiling water into the Aeropress. This step will help you to rinse your paper filter and warm up your vessel! Once this step is complete, discard the water from the vessel and you are ready to begin brewing.
-

Step 6. Add your coffee
Place ground coffee into your Aeropress on top of your vessel, on top of your scale. Zero the scale.
-

Step 7. Go
Start your timer and add 50g of water to the Aeropress.
-

Step 8. Stire relatively quickly
Once you reach 50g, use the Aeropress plastic paddle to saturate the coffee grounds – stir forwards and backwards, left and right.
-

Step 9. Add remaining water
Around the 20 second mark, add the remaining amount of water until you reach 260g of water. This should bring you to approximately 40 seconds.
-

Step 10. Cap with the plunger
Around the 40 second mark, cap the Aeropress with its plunger. You can shift it off the scale at this point and let it sit until 1:40.
-

Step 11. Plunge
At 1:40, begin to press the Aeropress plunger. Your target is to finish pressing by 2:20 – your goal will be to evenly press with a constant and steady pressure. You’ll know you’re finished when you hear a hissing noise at the end of pressing.


